The ending of rook plus bishop vs. rook is one of the most irritating endings that can arise in over-the-board play, especially for the defender. Everybody knows that it is a draw, and the general drawing method (the "second-rank defense"...) is quite well-known. Nevertheless, it is frequently lost in practice.In the final round of the Tata Steel Chess tournament, Fabiano Caruana sacrificed a rook for Levon Aronian's last two pawns to reach a theoretically drawn endgame (see "Tata Steel Chess, Final Round"). He then had to defend the drawn position for thirty-seven moves. Watching the game, I knew the ending was drawn (except in certain situations with the defending king on the edge), but did not fully appreciate the difficulties faced by the defender.
John Nunn, Nunn's Chess Endings, vol. 2, 330.
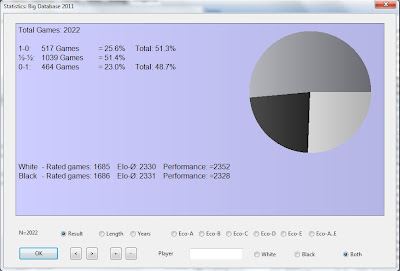
My database that contains most games through 2011 reveals a shocking number of wins in this theoretically drawn ending. The victims include Judit Polgar, Peter Leko, Alexander Morozevich, Gata Kamsky, Michael Adams, Loek Van Wely, Nigel Short, and many other strong grandmasters.
 |
| RB vs. R Statistics in Big Database 2011 |
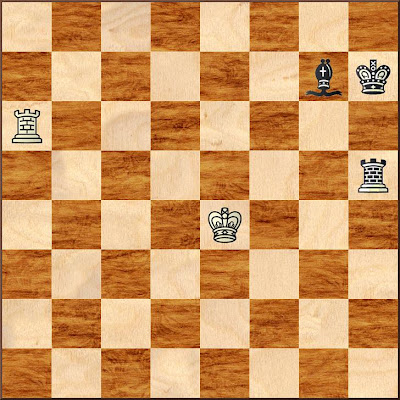
White to move
 |
| Position from Eljanov -- Aronian, Moscow 2010 |
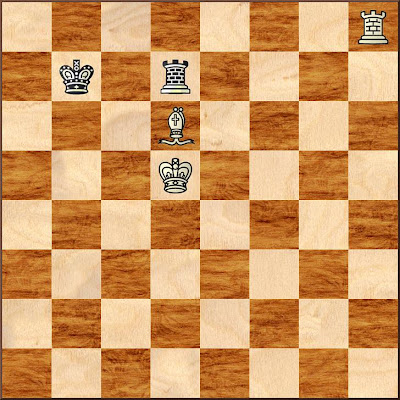
In the 2008 Olympiad, Peter Leko reached a difficult position against Vassily Ivanchuk.
White to move
Only one move holds the draw, 124.Rf8. Leko played 124.Rd8 and lost a few moves later.
124...Re3 125.Rg8 Re7 126.Rg5 Rh7 127.Ke1 Rd7 0-1
Leko lost the ending again in the 2009 World Blitz Championship. This time Magnus Carlsen was the beneficiary.
Carlsen missed the correct 72.Kc5 here.
White to move
Twelve moves later, Carlsen again had a winning position and found success. I tried 72.Kc5 against Rybka, but quickly lost my way. Playing the dominant side offers little risk, but is far from an elementary ending.
My game against Rybka continued (from the diagram):
72.Kc5 Ka6 73.Rh1 (not the best, but winning) Kb7 74.Rb1+ (the second best of two winning moves) Ka8 75.Kc6 (another suboptimal move) Rb7
White to move
Here there are two winning moves, but I played 76.Rh1 only to discover how easily I could stalemate the defender.
Although I know that the ending is generally drawn, it is clear that there are some things worth learning concerning it. Time to hit the books.


Hi! Nice blog you have here. I am minorly obsessed with this ending. The final diagrammed position features a rather unusual winning plan for white!
ReplyDelete